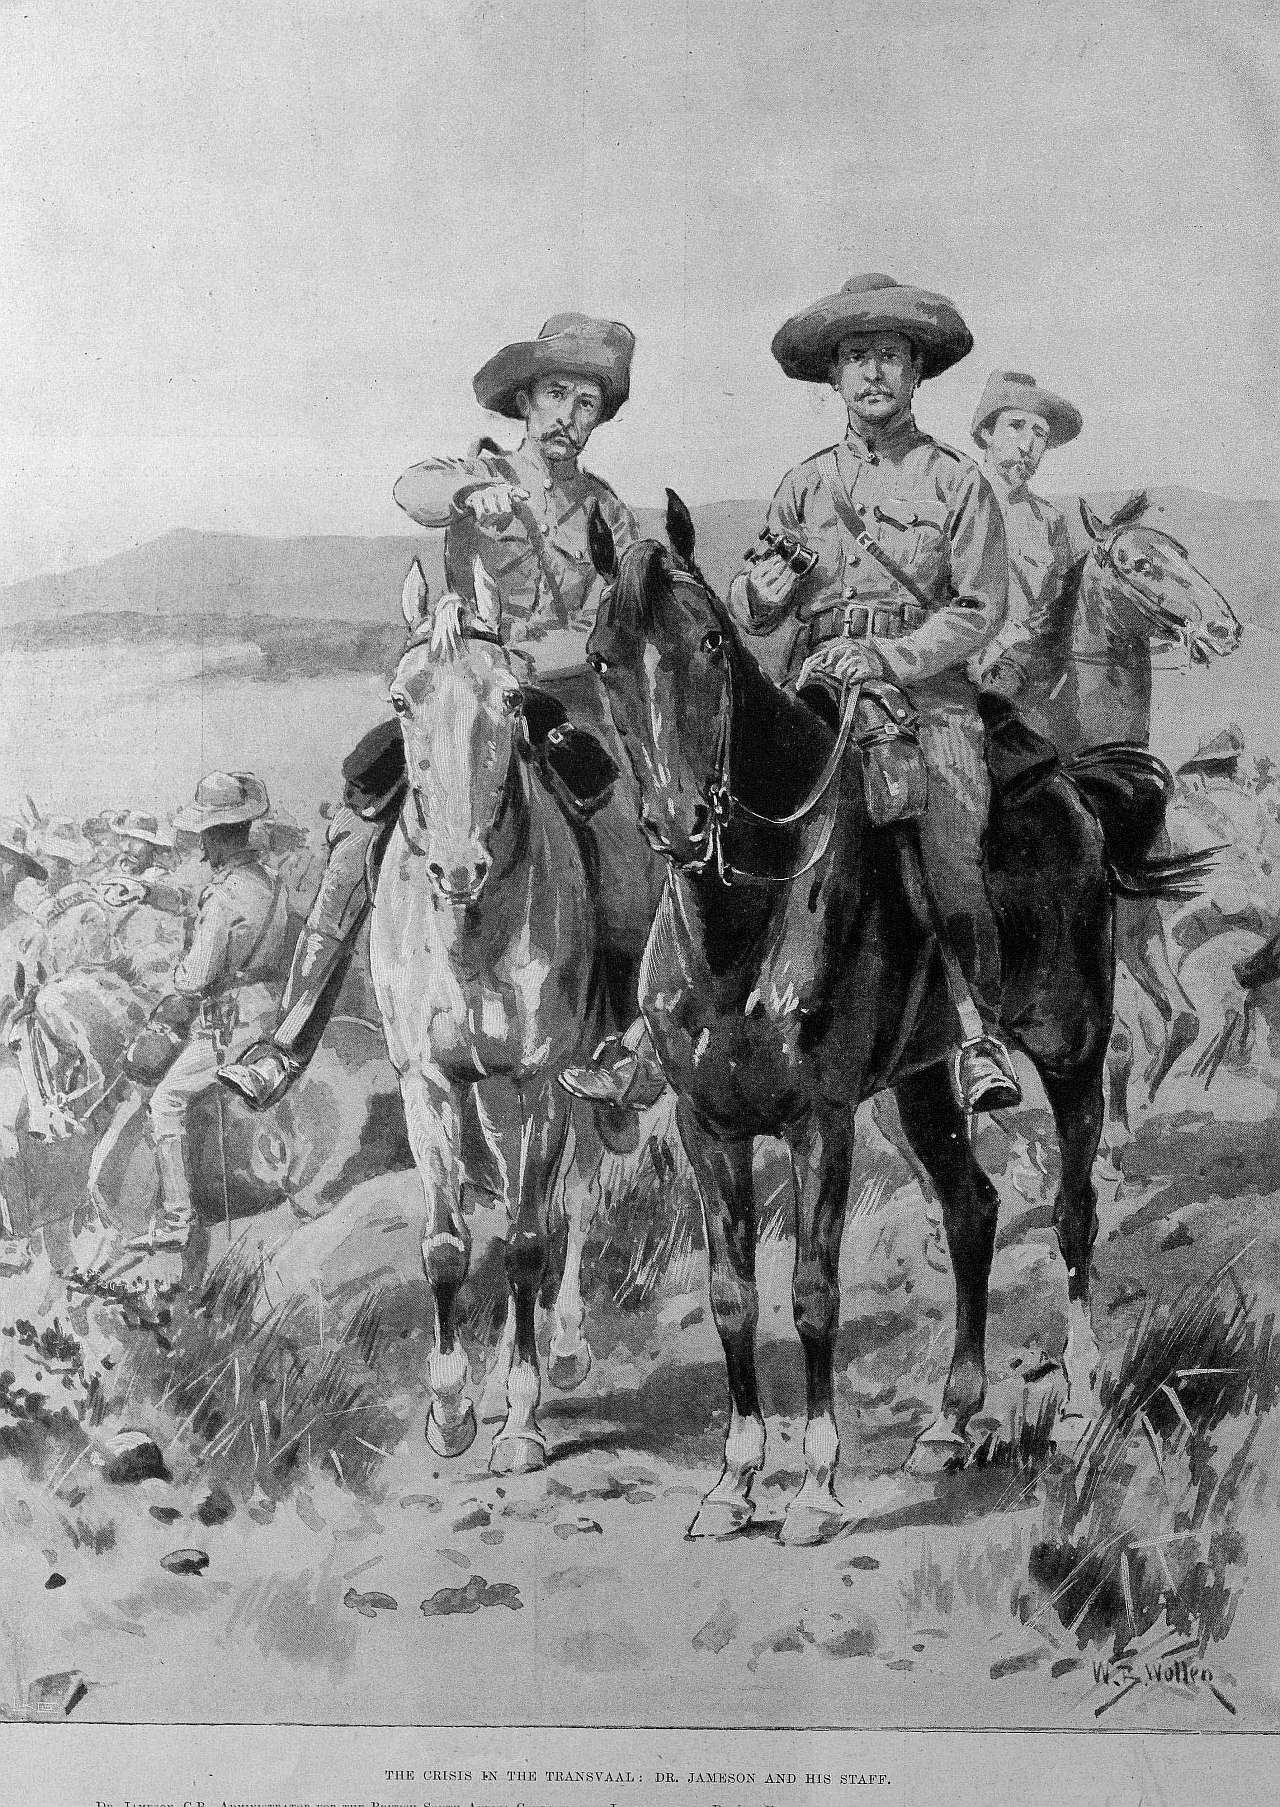
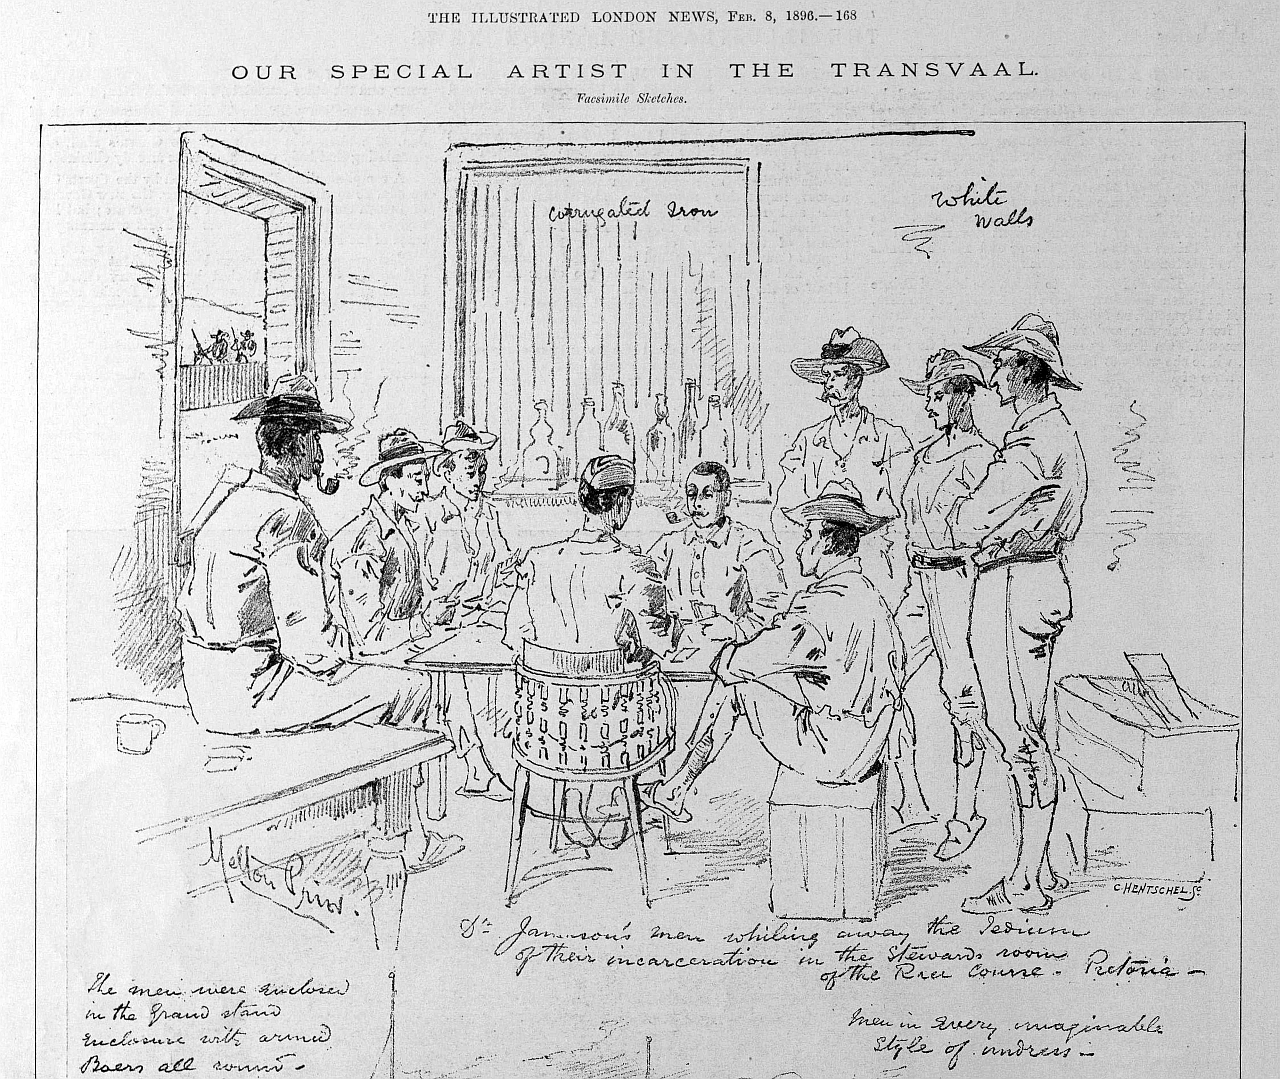
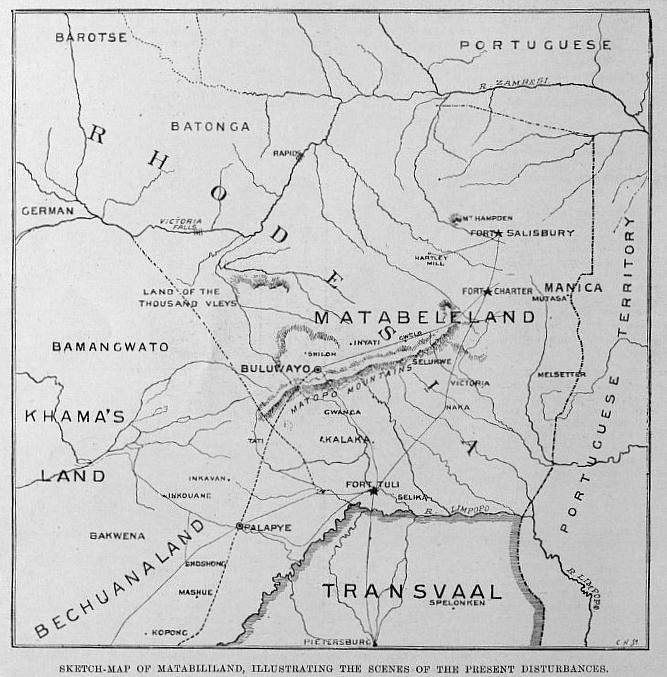
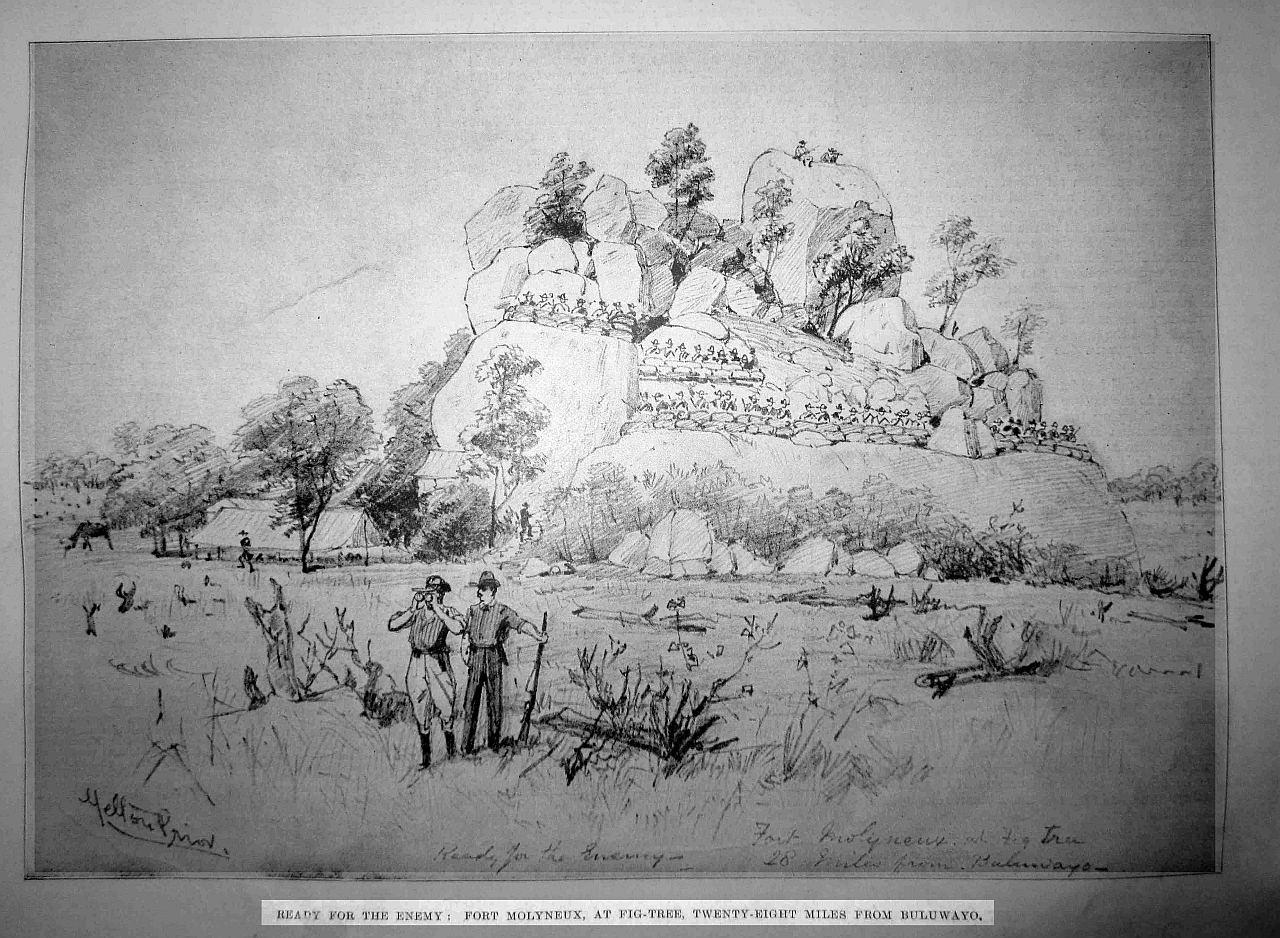
The The **Jameson Raid** (December 1895 – January 1896) is closely tied to the events that led to the **Second Matabele War**, but it was a separate incident. It played a significant role in escalating tensions in the region and exposing deep fault lines in British colonial ambitions in southern Africa. Here’s how the Jameson Raid fits into the context of the Second Matabele War:
Background on the Jameson Raid
The **Jameson Raid** was an ill-fated, unauthorized military incursion led by **Dr. Leander Starr Jameson**, a close ally of **Cecil Rhodes**, and the administrator of the British South Africa Company (BSAC). The raid aimed to overthrow the **Boer government** of the **South African Republic** (also known as the Transvaal), which was under President **Paul Kruger**. Rhodes and his associates in the British government and BSAC hoped that the predominantly British expatriates (the “Uitlanders”) living in the Transvaal would rise up in support of Jameson’s forces, leading to a quick victory.
However, the raid was poorly planned and executed:
- Jameson and his force of about **500 men** crossed into the Transvaal in late **December 1895**, hoping to reach Johannesburg.
- Instead of sparking an uprising, they were quickly intercepted by Boer forces.
- By **January 2, 1896**, Jameson and his men were surrounded and forced to surrender at **Doornkop**, marking the humiliating failure of the raid.
Connection to the Second Matabele War
Although the Jameson Raid and the Second Matabele War were not directly linked, there were **important connections**:
1. **Distraction of British Forces**
- The raid diverted attention and resources from the situation in **Matabeleland**. As the British South Africa Company’s forces and leadership (including **Leander Jameson**) were focused on the raid and its fallout, the region became **more vulnerable** to internal unrest. When the Matabele and Shona people began their rebellion in early **1896**, the British were not fully prepared to deal with the scale of the uprising.
2. **Increased Tensions and Instability**
- The failure of the Jameson Raid increased tensions between the British Empire and the Boer Republics, as well as strained relations with local African populations. The perception that the British were overreaching in their imperial ambitions added to the general feeling of instability in the region. The **Matabele** and **Shona** may have seen this moment of weakness in the British presence as an opportunity to strike back.
3. **Economic and Political Consequences**
- The aftermath of the Jameson Raid led to **economic instability** in southern Africa. The raid was not just a military failure; it was a political embarrassment for Cecil Rhodes and the BSAC. It caused a significant **loss of trust** in British administration and weakened their ability to maintain order. This may have emboldened the Matabele and Shona people, who were already dealing with grievances over land, labor, and cattle seizures. The raid also exposed the **fragility of British control** in the region.
4. **Cecil Rhodes' Role and Reputation**
- **Cecil Rhodes**, the founder of the BSAC and Prime Minister of the Cape Colony, had secretly supported the Jameson Raid. Although he officially distanced himself after its failure, the raid severely damaged his reputation. This weakened his authority, and the **Matabele and Shona rebellion** that followed in 1896 further illustrated the growing challenges to British imperial rule in the region. Rhodes himself had to personally intervene during the Second Matabele War, negotiating with rebel leaders to bring about a settlement.
The main causes of the war:
1. **Land Seizures and Displacement**
- After the **First Matabele War (1893–1894)**, the British South Africa Company (BSAC), led by **Cecil Rhodes**, seized large areas of Ndebele land. White settlers took over fertile land for farming and ranching, pushing the Ndebele people onto less productive land and displacing many from their traditional homes. This caused deep resentment among the Ndebele, who saw their ancestral lands and resources taken away.
2. **Cattle Confiscation**
- Cattle were a vital part of the Ndebele economy and social structure, symbolizing wealth and status. The British, especially after a **rinderpest epidemic** devastated cattle herds in 1896, took further control over the surviving cattle, often confiscating livestock for the benefit of European settlers. They reduced the herd from 300,000 to just 40,000. The loss of cattle further impoverished the Ndebele and eroded their way of life.
3. **Forced Labor and Harsh Colonial Rule**
- The British imposed **forced labor**, due to Cecil Rhodes, policies on the Ndebele and Shona people, often through the **hut tax**. The tax forced Africans to work for European settlers or the BSAC to pay off their obligations, disrupting traditional livelihoods and creating resentment. The Ndebele viewed these policies as highly exploitative and oppressive, and they were deeply angered by the erosion of their independence.
4. **Spiritual and Cultural Motivations**
- Spiritual leaders and **traditional healers** played a crucial role in the rebellion. One such figure was **Mlimo**, a Ndebele spiritual leader who prophesied that the ancestors were angry with the British and that they could be defeated if the Ndebele rose up. Mlimo’s prophecies inspired many warriors to join the revolt. The **spiritual dimension** of the war was significant, as it helped unify the Ndebele and Shona under a common cause to drive out the colonizers.
5. **Broken Promises by the British**
- After the First Matabele War, the British had made certain promises to the Ndebele leadership, including assurances of protection for their people and property. However, many of these promises were either ignored or poorly implemented. As the Ndebele felt increasingly betrayed, tensions escalated.
6. **Rinderpest Epidemic and Famine**
- The **rinderpest epidemic** of 1896, which decimated cattle herds across southern Africa, added to the crisis. The resulting famine and economic hardships put enormous pressure on the Ndebele and Shona communities, further fueling the anger toward the colonial authorities, whom they blamed for not providing relief or support.
7. **Increased European Settlements**
- The British South Africa Company’s push to encourage more European settlers in the region led to **greater control** of African land and resources. The Ndebele and Shona peoples saw the increasing presence of European settlers as a direct threat to their autonomy and traditional ways of life. This contributed to the desire to resist further encroachment by any means.
8. **Ndebele and Shona Unity**
- Unlike the First Matabele War, which involved mainly the Ndebele people, the Second Matabele War also saw the participation of the **Shona people**, who shared many of the same grievances against British rule. The two groups, traditionally not always united, found a common cause in their opposition to the BSAC.
Outcome:
Though the rebellion initially saw some success with coordinated attacks on settlers and British forces, the war was ultimately crushed by the British, who brought in reinforcements and used their superior military technology, including the Maxim gun. The spiritual leader Mlimo was assassinated by American scout **Frederick Russell Burnham**, which undermined the rebellion's morale. By the end of 1897, the revolt was suppressed, and British control over Matabeleland and Mashonaland was firmly re-established.
The Second Matabele War, despite its failure, remains a symbol of early African resistance to colonial rule.
Aftermath and Legacy
The failure of the Jameson Raid, followed by the outbreak of the **Second Matabele War**, created a complex crisis for the British in southern Africa:
- The **Boers** in the Transvaal were emboldened, which eventually contributed to the outbreak of the **Second Anglo-Boer War** (1899–1902).
- The Second Matabele War itself showcased the vulnerability of British colonial authority, especially when confronted by coordinated uprisings and internal conflicts. |